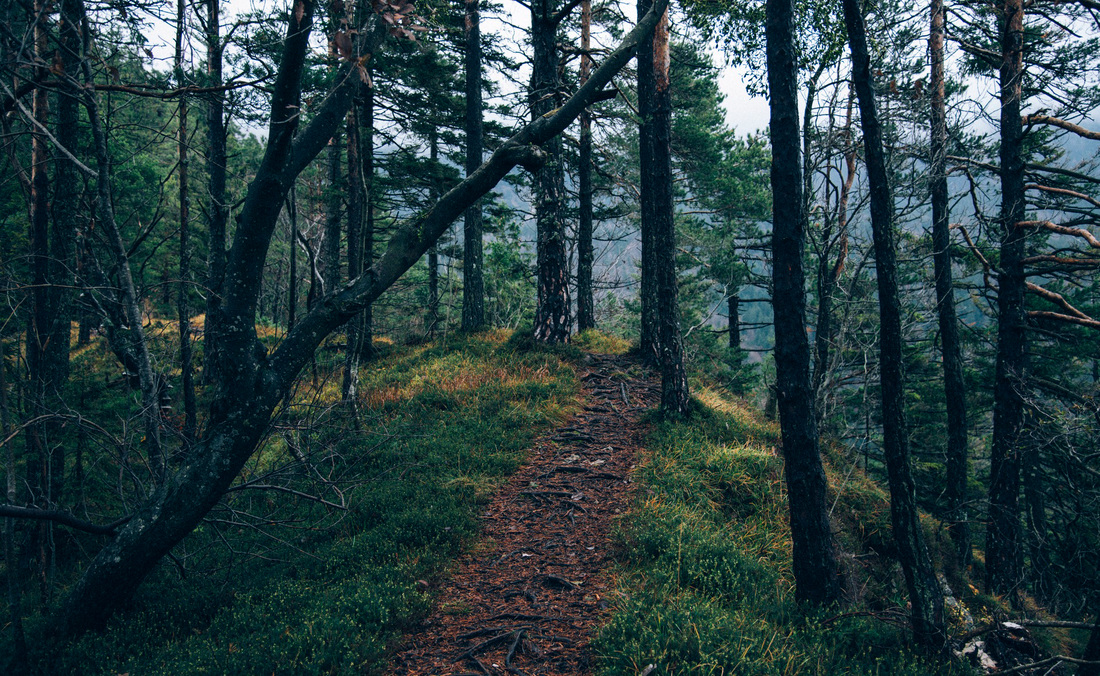
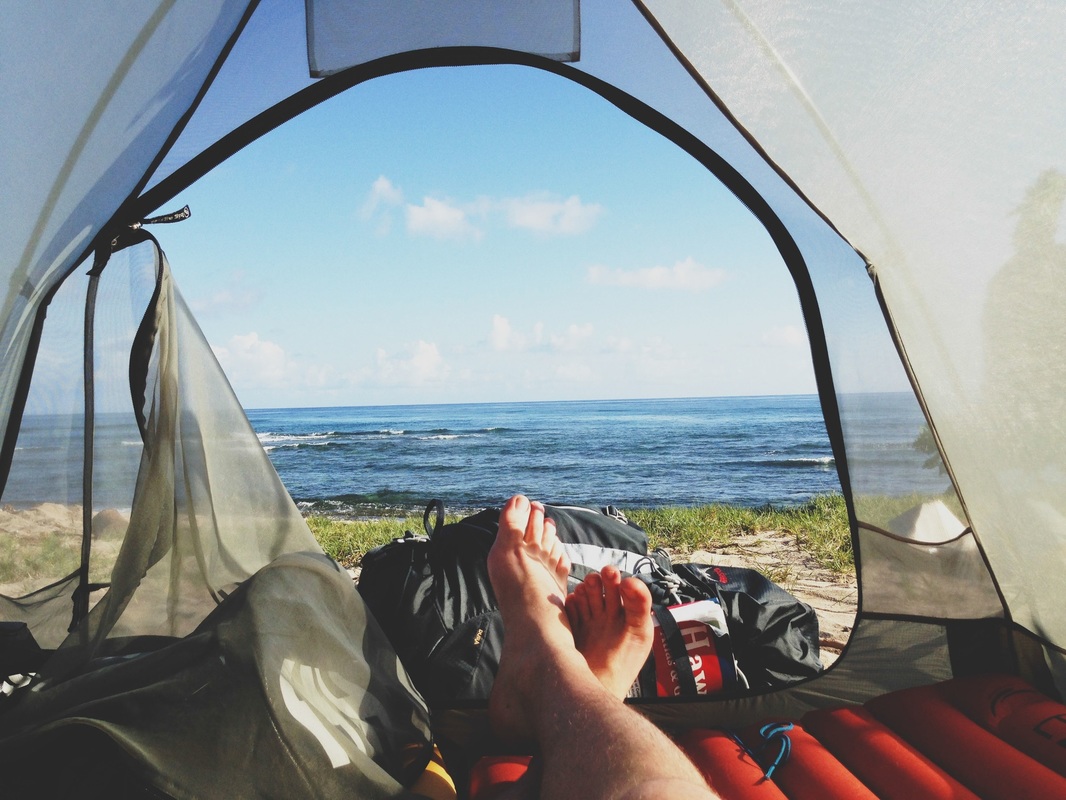
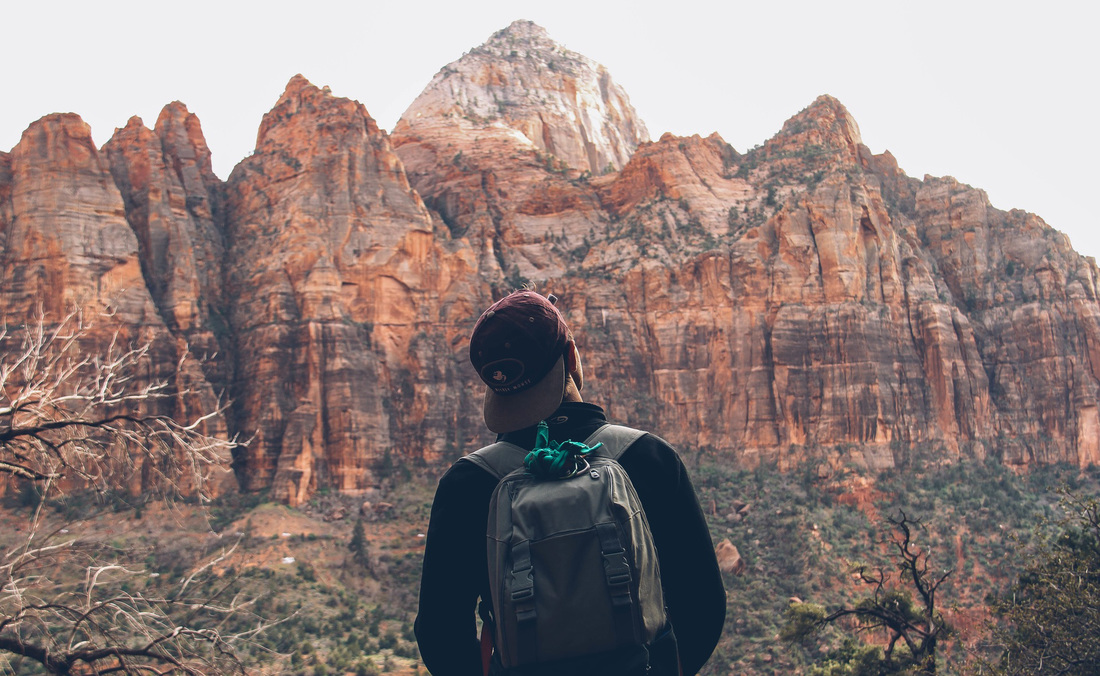
I'm James. This is my year of travel.

The color on the right will act as the shadow that appears underneath, as the design is interweaving. Now, hop into the Gradient Editor to define the colors. Gradientįor the Gradient Overlay, start by setting the Angle at 0 degrees and set the Style to Reflected. When the document has been created, we’re going to head straight into our Layer Styles to add a gradient and a slight highlight at the top. 
If you want larger or smaller weaves, you can always create a smaller or larger document, based on the design we’re about to create. We only need to create one of the weaves. For the pattern’s document, the size will be set to 50 by 20 pixels. Let me show you how this effect can be achieved in a much shorter amount of time.īefore we even touch our image, we need to create the pattern that Photoshop will use to create this effect. And that’s when I remembered Photoshop CS6’s new Scripted Patterns feature. So I thought to myself, there HAS to be an easier and shorter way to achieve this effect. One of my viewers sent me a link to an ‘ Interweaving’ Photoshop tutorial, which they were having some difficulty completing, and after taking a look at the tutorial, it’s very tedious.
0 Comments
Leave a Reply. |
AuthorWrite something about yourself. No need to be fancy, just an overview. ArchivesCategories |
 RSS Feed
